Connect Blynk to ESP32 _ counting display
- sianfeng18
- Oct 17, 2020
- 1 min read
Learn how to do the connect Blynk application to the ESP32.
Firstly, you must have Arduino IDE software. You may see tutorial to download Arduino IDE here (https://sianfeng18.wixsite.com/website/post/download-arduino-ide).
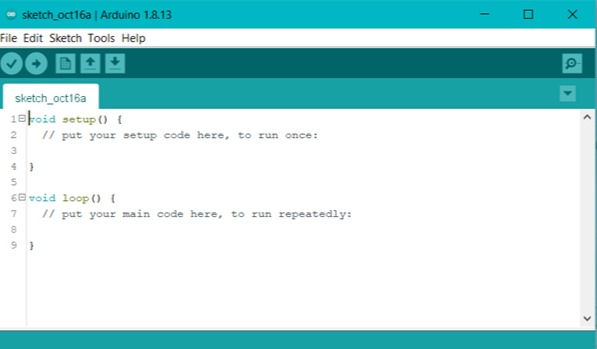
Open the Arduino IDE software.
3. Next, click on Tools > Manage Libraries.

4. Then, a window will pop up and wait awhile for it to loading. Then insert "Blynk" in search ang installed the latest version. Mine is version 0.6.1.


5. Then, search for example coding from Google.
Click the link to go to thewebsite : https://examples.blynk.cc/?board=ESP32&shield=ESP32%20WiFi&example=GettingStarted%2FPushData&auth=aws09b7BIr-bL25T6JF_X5VeZWTuPJnO
6. Make sure the Board : ESP32 , Connection : ESP32 WIFI , Example : Push Button .
7. Auth Token , you can get it when you register in Blynk app.

8. Open you Blynk app on your smartphone. Setting up like I showed :
9. While setting up on Blynk app , you can get your Auth Token from your registered email by applying on Blynk app. Let me show you the video :
10. Now, go back to Arduino IDE and change the Wifi ID and Password.

11. coding and setup on blynk are done, so now wejust need to upload and run it. The result is showed in the video : https://youtu.be/7qGb_VfTHH4.
Thanks for spending your time to read my tutorial on how to use Blynk with ESP32. (^<^)


Comments